E-mail: sachikoo_sz@yeah.net
Telephone: +86-13118819569

Views: 0 Author: Site Editor Publish Time: 2026-08-10 Origin: Site


The physical reality of in-room security often goes overlooked in favor of digital features. An unanchored safe, regardless of its advanced digital encryption or biometric scanners, is merely a heavy carrying case for valuables. When property managers focus entirely on keypad technology while neglecting physical installation, they leave rooms vulnerable to the most common type of in-room theft: complete unit removal. Thieves rarely attempt to crack electronic codes on-site; instead, they detach the entire unit to open it later in an uncontrolled environment.
Improperly securing a Hotel Safe Box to weak substrates creates severe operational vulnerabilities. It exposes property owners to significant liability risks, immediate loss of guest trust, and potential failures in insurance compliance. Addressing this requires shifting the focus from selecting electronic features to the technical evaluation of physical anchoring methods. Understanding the structural differences between furniture mounting, wall securing, and floor anchoring is the foundation of a robust in-room security strategy.
Anchoring is Non-Negotiable: Freestanding safes must be bolted to a solid substrate (floor, wall stud, or reinforced furniture) to mitigate "grab and go" theft.
Substrate Dictates Security: Mounting a safe to drywall or thin particleboard offers zero structural resistance; installations must utilize wall studs, masonry, or heavily reinforced casegoods.
Hardware Specifications Matter: Utilizing factory pre-drilled holes with high shear-strength lag bolts, expansion anchors, or manufacturer-provided anchor kits is critical to maintaining the safe's security certification.
Compliance and Accessibility: Proper installation must balance maximum physical security with ADA compliance, guest accessibility, and discreet concealment.
The primary threat model for in-room security is opportunistic theft where the entire unit is removed from the premises. Attackers look for the path of least resistance. If a safe is merely resting on a shelf or attached with standard wood screws into thin veneer, a crowbar or even sheer physical force can dislodge it within seconds. Defeating this threat requires establishing a strict baseline requirement for pull-out strength and shear resistance in all anchoring hardware.
Pull-out strength refers to the amount of direct outward force an anchor can withstand before ripping out of the substrate. Shear resistance measures the hardware's ability to withstand downward or lateral force. High-quality installation protocols mandate that the combined shear and pull-out resistance of the mounting hardware exceeds the leverage force an attacker can generate using standard hand tools. This necessitates heavy-duty steel fasteners driven deep into structural materials. We regularly see failed installations where maintenance teams used standard drywall screws; these snap instantly under the leverage of a small pry bar.
Facility managers must evaluate the trade-off between hiding the safe and ensuring it remains visible enough to prevent guest frustration. A heavily concealed unit might offer slight security advantages by keeping the asset out of sight, but if guests cannot easily locate or access the keypad, they will simply leave their valuables unsecured on a desk. The installation location must facilitate immediate recognition upon opening a closet or cabinet.
Advanced concealment strategies involve mounting the unit behind false panels or inside custom cabinetry. This keeps the hardware discreet without hindering daily usability. When utilizing custom cabinetry, the internal dimensions must allow the safe door to swing open fully to 90 degrees or more, ensuring guests have an unobstructed path to insert or remove belongings. Lighting within the cabinet or closet also plays a role in usability, particularly for units without backlit keypads.
ADA compliance introduces specific constraints regarding mounting heights, reach ranges, and clear floor space. To accommodate guests with mobility impairments, the keypad and handle should generally be positioned between 15 and 48 inches above the finished floor. Furthermore, the approach area in front of the safe must remain clear of obstructions, allowing a wheelchair user to position themselves comfortably to operate the locking mechanism. You cannot mount a safe in the back corner of a narrow walk-in closet and expect it to pass an accessibility audit.
Improper installation directly impacts legal and financial protections. Many commercial liability insurance policies contain strict underwriting clauses regarding in-room security. If a safe is stolen and subsequent investigations reveal it was mounted using inadequate hardware or attached to non-structural drywall, the insurance provider may deny the claim. The facility is then held entirely responsible for the guest's financial loss.
Furthermore, altering the safe during installation—such as drilling unauthorized holes through the steel casing—can immediately void the manufacturer's warranty. Maintaining the legal defensibility of the property's security measures requires following certified installation guidelines to the letter. Installers must use approved anchor kits and document the structural integrity of the mounting points for every room. Adjusters will physically inspect the remaining holes in the wall or floor after a theft to determine exactly how the unit was secured.
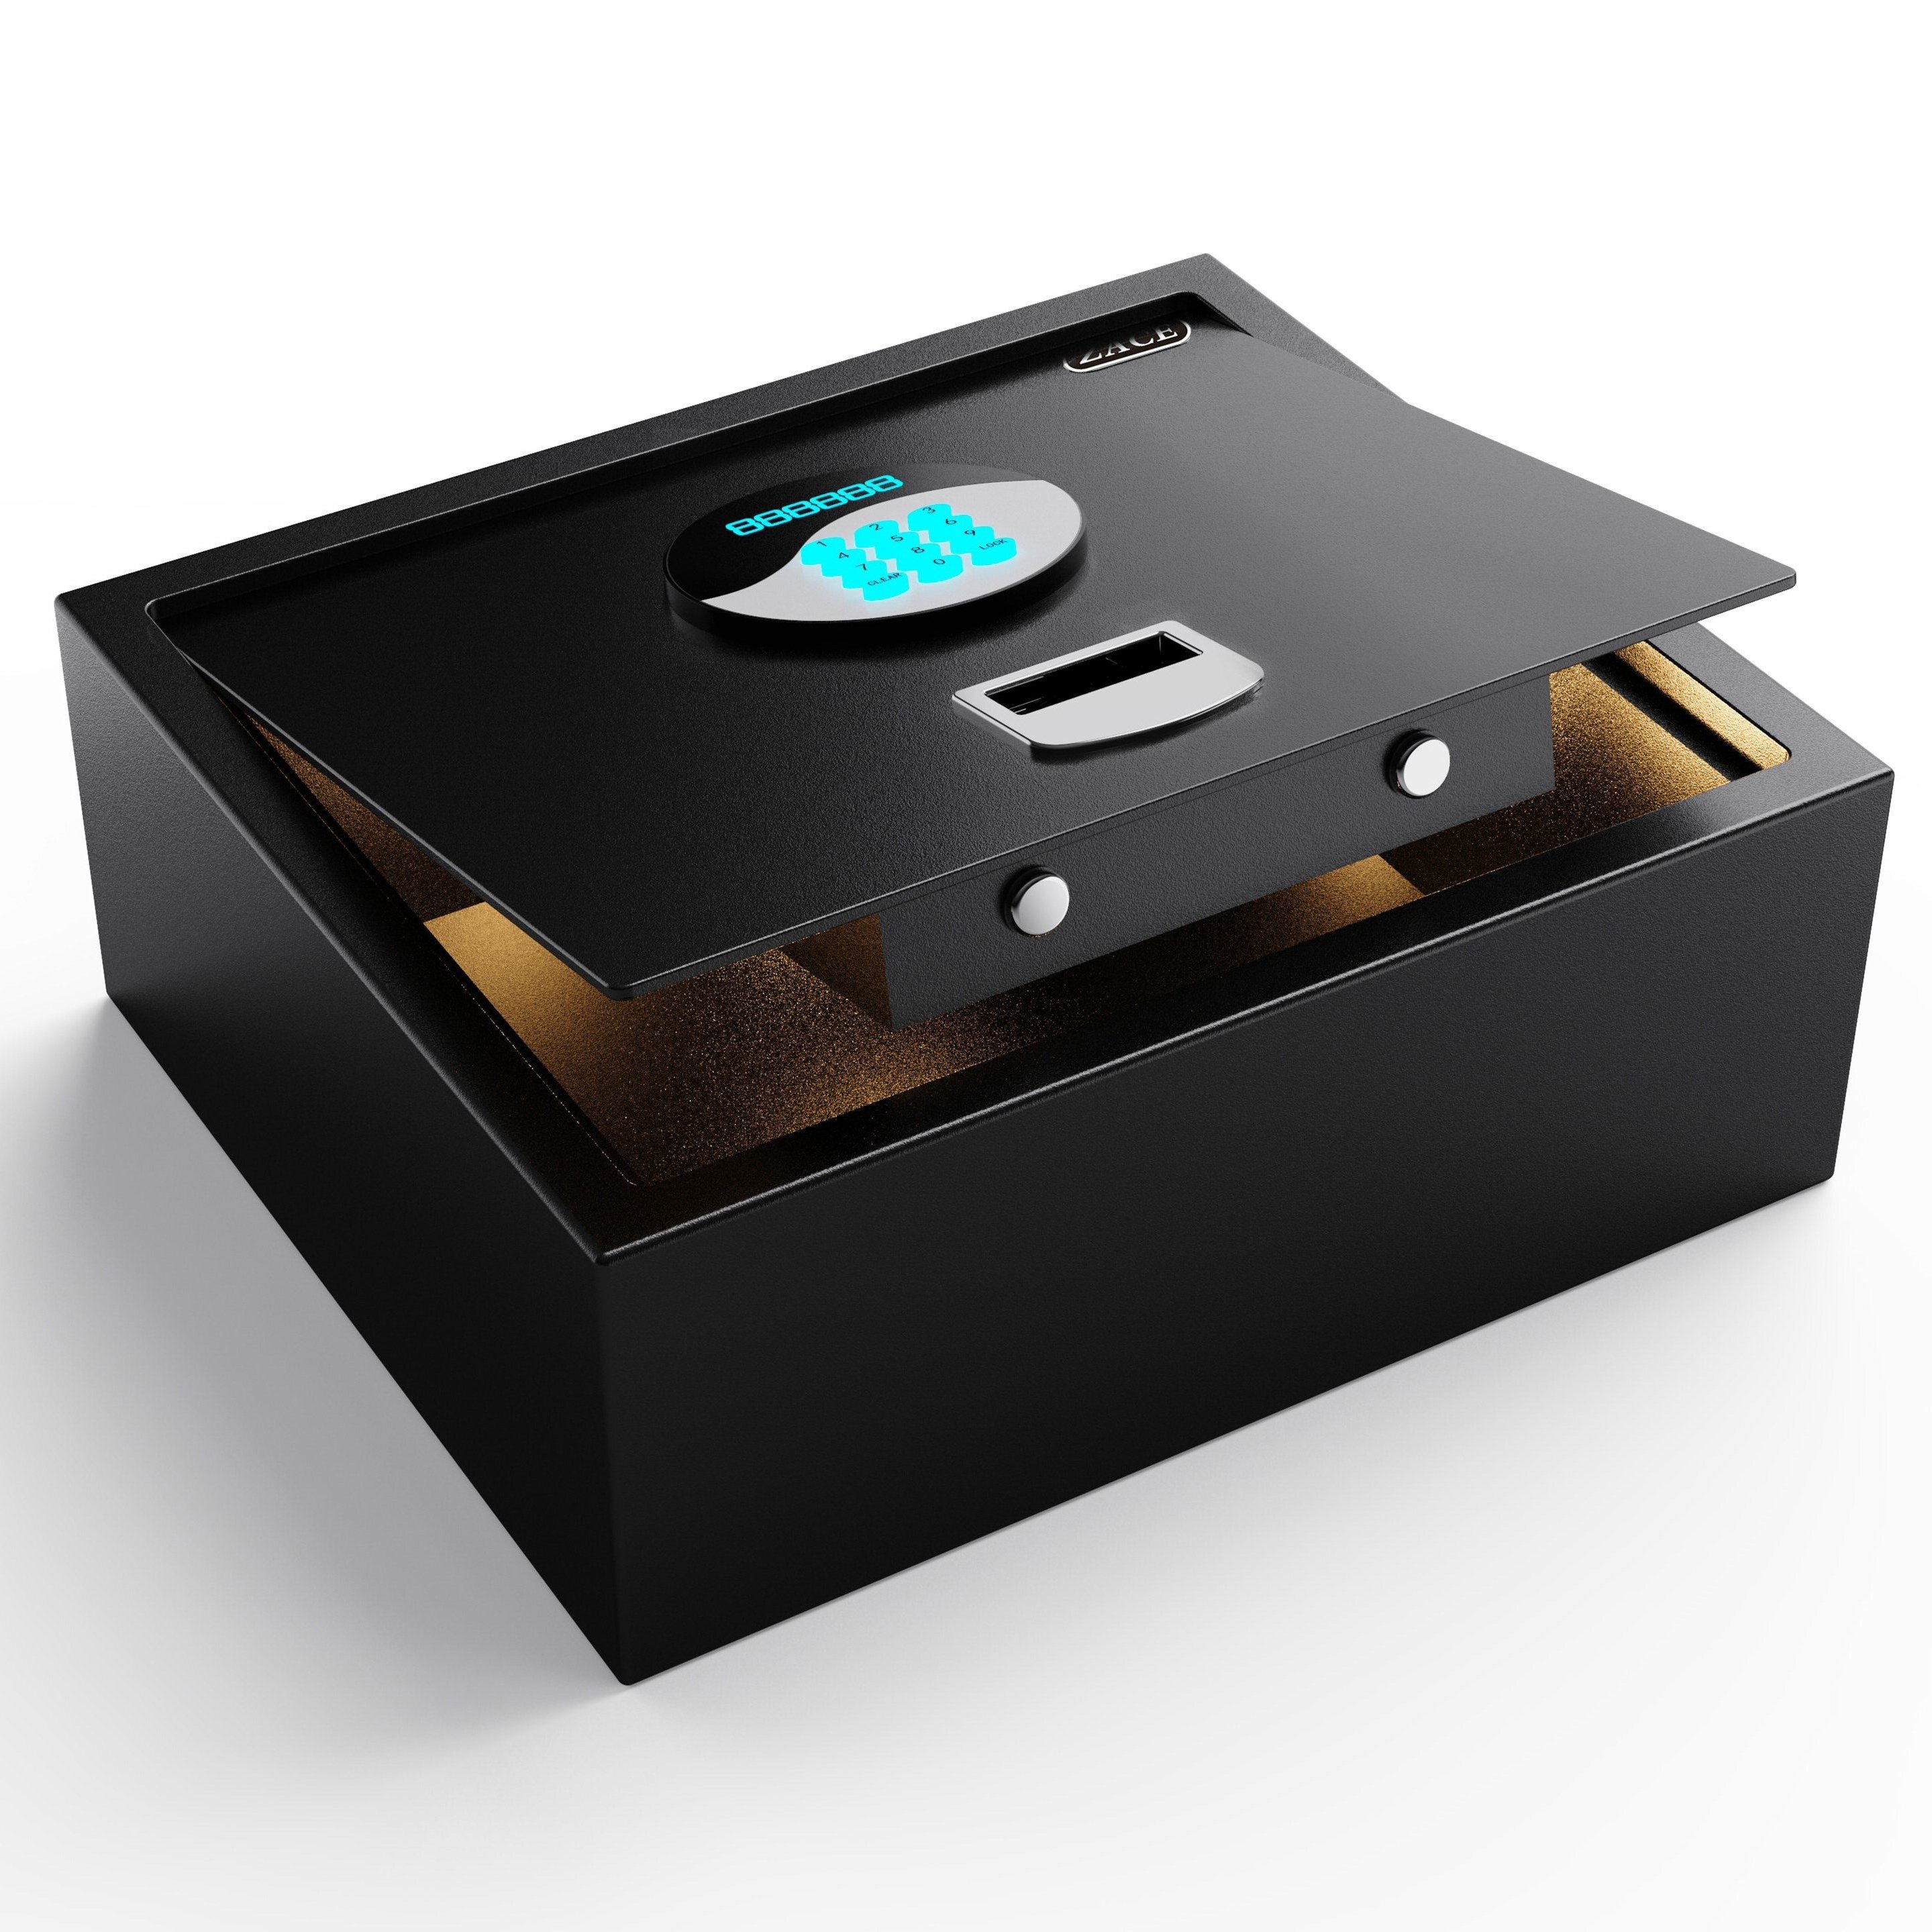
Furniture mounting is the most common approach for a small safe box or a standard electronic hotel safe placed inside wardrobes. It keeps the unit off the floor, places it at a convenient height, and utilizes existing room layouts. However, the physical limitations of modern hotel furniture present significant security challenges. Most casegoods are constructed from Medium-Density Fiberboard (MDF) or particleboard. These materials possess very low screw-holding capacity and tear out easily under stress. When you drill into MDF, it essentially turns to dust, leaving nothing for the threads of a screw to bite into.
To overcome these material weaknesses, installers cannot rely on screwing the safe directly into the wooden shelf. Instead, implementation requires bolting through the back of the furniture directly into a structural wall stud. If aligning with a wall stud is impossible, installers must use heavy-duty steel backing plates on the exterior rear of the furniture. These plates distribute the pull-out force over a much larger surface area, preventing the safe from being ripped through the thin wood backing.
Pre-installation clearance is a major logistical factor. Installers must ensure the chosen furniture location has adequate physical depth to house the unit while allowing the cabinet doors to close flush. Additionally, there must be sufficient clearance inside the tight confines of the wardrobe to operate power drills, align heavy steel plates, and drive long anchor bolts without stripping the hardware. Trying to swing a hammer or apply torque to a wrench inside a 20-inch wide cabinet requires specific right-angle tools.
Structural wall mounting is necessary for a dedicated wall mounted safe box or in compact rooms where floor space or deep casegoods are unavailable. This method relies on the building's core architecture for security. Mounting into wooden studs provides excellent shear resistance, provided the lag bolts penetrate deeply into the center of the stud. Modern high-rise hotels often use heavy-gauge metal studs instead of wood. You cannot use standard lag bolts in metal studs; they will strip the thin metal. Instead, you must use specialized heavy-duty toggle anchors designed specifically for metal framing.
Installers must explicitly avoid drywall-only mounting. Using standard toggle bolts or plastic drywall anchors provides a false sense of security. Drywall crumbles under sustained leverage. An attacker can easily pry a safe off a drywall surface, taking chunks of the wall with it. If a unit must be placed on a hollow wall where studs do not align with the pre-drilled holes, a structural mounting board spanning two studs must be installed first, and the safe anchored to that board.
Floor anchoring represents the highest security tier. It is often used for heavier units, drop safes, or situations where wall and furniture mounting are structurally impossible. Securing a unit to a concrete slab using heavy-duty expansion anchors makes unauthorized removal virtually impossible without heavy industrial equipment.
The installation process requires a rotary hammer equipped with an SDS-plus masonry bit. After drilling the hole, the installer must vacuum the concrete dust out of the cavity. If the dust remains, the wedge anchor will bind up halfway down, preventing it from seating properly and leaving the safe loose. Once the anchor is pounded into place, torquing the nut expands the wedge, locking it permanently into the slab.
The primary trade-off with floor anchoring is permanence. Driving wedge anchors into concrete creates a permanent fixture. If the room layout changes or the safe needs replacement, the old anchors must be ground down flush with the floor. Additionally, retrofitting existing rooms with floor anchors can be difficult, as it requires drilling through carpet, tile, or hardwood, potentially causing permanent damage to the finished flooring.
Substrate and Anchor Compatibility Guide
| Substrate Material | Recommended Anchor Type | Drill Bit Required | Minimum Embedment Depth |
|---|---|---|---|
| Wood Studs | Steel Lag Bolts (Grade 5+) | Standard Wood/Metal Bit | 2.5 inches |
| Metal Studs | Heavy-Duty Toggle Anchors | Standard Metal Bit | Through the stud cavity |
| Solid Concrete | Wedge or Sleeve Anchors | SDS Masonry Bit | 3.0 inches |
| MDF / Particleboard | Through-Bolts with Backing Plates | Standard Wood Bit | Through the entire panel |
Certified safes are engineered with specific structural tolerances. Manufacturers design factory-placed anchoring holes—typically located in the rear wall, the base, or both—based on extensive stress testing. These pre-drilled holes are positioned to maximize the holding power of the anchors while maintaining the integrity of the surrounding steel chassis. The areas around these holes are often reinforced with thicker steel plates to prevent the bolt heads from pulling through the metal under extreme force.
Drilling custom holes into the casing is a severe implementation risk. Penetrating the steel with an aftermarket drill bit introduces micro-fractures and weakens the structural integrity of the entire panel. It creates new leverage points that attackers can exploit. More importantly, modifying the physical structure of the unit immediately voids UL ratings, CE certifications, and manufacturer warranties, leaving the property legally exposed. If the factory holes do not align with your wall studs, you must modify the wall by adding a mounting board, not modify the safe.
The choice of hardware dictates the success of the installation. For wood studs, heavy-duty steel lag bolts are required. These bolts feature deep, coarse threads designed to bite aggressively into timber. For concrete floors or solid masonry walls, sleeve anchors or wedge anchors are necessary. As the nut is tightened on a wedge anchor, the base expands outward, locking itself permanently into the concrete.
Regardless of the anchor type, installations must utilize heavy-duty steel washers. Washers increase the surface area of the bolt head, preventing the fastener from tearing through the safe's internal steel wall during a pry attack. A standard washer is often too thin and will warp under pressure; thick fender washers are the industry standard for security mounting.
Certification compliance demands the use of specific anchor kits provided by the manufacturer. Certified freestanding safes are tested alongside their proprietary hardware. Substituting these with cheaper, lower-grade bolts from a local hardware store compromises the tested shear and pull-out forces, effectively nullifying the official security ratings.
Finally, all hardware must be flush-mounted inside the safe. The bolt heads and washers must sit tightly against the interior floor or rear wall. Once the heavy steel door is locked, the mounting hardware becomes completely inaccessible to anyone without the code, preventing tampering or unbolting from the outside.
The physical dimensions of the unit alter its vulnerability profile. A wide laptop safe box accommodates larger electronics but also creates a much larger leverage point if an attacker attempts to pry it from the wall or shelf. The extended width acts as a lever arm, allowing more torque to be applied to the anchor points compared to a compact square unit.
Mitigating this risk requires multi-point anchoring. Installers should not rely solely on rear-wall bolts. A wide unit must be secured by bolting both the back panel to a structural wall stud and the bottom panel to a heavily reinforced shelf. Distributing the anchoring force across multiple geometric planes significantly reduces the effectiveness of leverage-based attacks. If an attacker pulls on the top edge, the bottom bolts resist the rotational force.
Drilling deep into structural walls carries the inherent risk of puncturing concealed utility lines. Striking a pressurized plumbing pipe, a live electrical conduit, or HVAC ductwork during installation causes immediate, catastrophic damage to the room, resulting in massive repair costs and extended room downtime. We have seen entire floors flooded because an installer drove a lag bolt directly into a PVC water main hidden behind the drywall.
To mitigate this hazard, installation teams must mandate the use of high-quality stud finders equipped with live-wire and non-ferrous metal detection. Magnetic stud finders only locate screws, not copper pipes. Furthermore, facility managers must cross-reference architectural blueprints and as-built drawings prior to authorizing any drilling. If a wall cavity is known to house major utility risers, an alternative mounting location must be selected.
New construction allows architects to design specific reinforced alcoves and specify heavy-duty casegoods tailored for secure mounting. Retrofitting existing properties presents a different challenge. Older casegoods may suffer from material fatigue, moisture damage, or simply lack the structural density to support the weight and anchoring force of modern steel units.
Properties undergoing retrofits must implement a strict room audit framework. Proceeding with a blanket installation strategy without auditing existing room conditions leads to high failure rates.
Identify the primary substrate behind the casegoods in every room type.
Measure the internal clearance of the wardrobe to ensure drill access.
Scan the wall cavity for plumbing and electrical lines.
Verify the approach space meets accessibility standards.
Document the required fastener types for the specific room layout.
The installation process itself can inadvertently damage the unit. Hotel walls and floors are rarely perfectly plumb or level. If an installer over-torques the heavy anchor bolts against an uneven substrate, the immense pressure can warp the safe's steel frame. Even a millimeter of distortion in the chassis can cause the heavy steel door to bind, preventing it from closing smoothly, or cause the electronic locking bolts to misalign with the strike plate.
Mitigation requires a strict post-installation testing protocol. If any resistance or grinding is detected, the anchor bolts must be slightly loosened, and steel horseshoe shims placed behind the unit to ensure the frame remains perfectly square before final torquing.
Verify the unit is level and plumb using a spirit level.
Open and close the door manually to check for hinge binding.
Engage the electronic lock multiple times to ensure smooth bolt throw.
Apply moderate lateral force to the unit to test anchor rigidity.
Property managers often face budget pressures when upgrading room security. While utilizing in-house maintenance staff for installation saves upfront labor costs, it introduces significant long-term financial risks if the staff lacks training in structural anchoring. Improperly installed units lead to successful thefts, resulting in costly liability claims, increased insurance premiums, and severe reputational damage.
Hiring specialized security installers guarantees that proper hardware is used, substrates are correctly evaluated, and ADA compliance is met. Professional crews carry the exact masonry bits, right-angle drills, and heavy-duty fasteners required for the job. The upfront cost of professional installation acts as an insurance policy, ensuring the physical security measures are legally defensible in the event of a targeted attack.
Managing multiple room types or entirely different properties requires operational efficiency. Standardizing one specific type of unit and a uniform anchoring method across all rooms drastically streamlines maintenance operations. It simplifies hardware procurement, ensures maintenance teams only need to stock one type of override key or diagnostic tool, and makes post-installation security audits highly predictable.
Standardization also means keeping the same physical footprint. If a unit fails and needs replacement five years down the line, a standardized footprint allows the maintenance team to drop the new unit directly onto the existing anchor bolts. They do not have to drill new holes into the concrete or patch the drywall, saving hours of labor per room.
Conduct a physical audit of room casegoods and wall structures before finalizing a purchase order to ensure compatibility.
Specify the exact anchor types required for your building's specific wall and floor materials, avoiding generic drywall hardware.
Mandate a post-installation testing protocol to verify smooth door operation and lock engagement before returning the room to inventory.
Standardize the safe footprint across the property to streamline future replacements and maintenance tasks.
A: No. Drywall lacks the necessary shear strength and pull-out resistance to hold a heavy steel unit during a physical attack. Toggle bolts or plastic anchors will fail under leverage, allowing the unit to be ripped from the wall. Installations must anchor directly into a wooden stud, metal stud, or solid masonry.
A: These are factory pre-drilled holes designed specifically for secure anchoring to walls or floors. They are engineered to maximize holding power without compromising the unit's structural certification. Using these designated points ensures the hardware aligns with reinforced sections of the steel chassis.
A: Yes. Certified units include specialized anchor kits that have been rigorously tested to withstand specific shear and pull-out forces. Substituting these with generic aftermarket hardware can significantly reduce holding power, void the manufacturer's warranty, and nullify the official security rating.
A: Yes, provided the installation does not rely solely on the wardrobe's wood. The unit must be bolted completely through the back of the wardrobe directly into a structural wall stud. Alternatively, the wardrobe itself must be heavily reinforced with steel backing plates and securely attached to the wall.
A: Heavy-duty steel lag bolts are required when mounting into wood studs, as their coarse threads provide maximum grip. For installations on brick, concrete, or solid block walls, specialized masonry expansion anchors (such as sleeve or wedge anchors) are necessary to ensure permanent structural hold.
A: No. Drilling custom holes weakens the steel casing, creates new leverage points for prying, and introduces structural vulnerabilities. Furthermore, modifying the chassis in any way immediately voids the manufacturer's warranty and nullifies any independent security certifications the unit holds.