E-mail: sachikoo_sz@yeah.net
Telephone: +86-13118819569

Views: 0 Author: Site Editor Publish Time: 2026-08-09 Origin: Site


A wall-mounted telephone may appear to be a minor guest room fixture, but its installation height directly affects accessibility, convenience, room appearance, and emergency usability. A telephone installed too high may be difficult for seated guests to operate. A unit installed too low may conflict with furniture, bedding, cleaning equipment, or other wall-mounted devices.
The correct mounting position cannot be selected by copying one measurement across every room. Hotel designers and procurement teams must evaluate where the telephone will be used, how guests will approach it, which controls must remain reachable, and whether furniture creates an obstruction.
For most projects, mounting height should be planned around the telephone’s operable controls rather than the top or bottom of the housing.
Standard guest room target: Position the main keypad or service buttons approximately 42 to 48 inches above the finished floor.
Accessible room requirement: Keep the highest operable control within the applicable accessible reach range.
Bedside installation: Reduce the height when the telephone must be reached from a seated or reclining position.
Bathroom or emergency installation: Prioritize seated reach, visibility, moisture protection, and local safety requirements.
Furniture coordination: Account for nightstands, desks, headboards, counters, and decorative wall panels.
Measurement reference: Record dimensions from the finished floor to the centerline of the keypad or highest frequently used button.
The installation height of a Wall Mounted Hotel Telephone affects several parts of the guest experience.
Guests must be able to lift the handset, press service buttons, read labels, and return the handset without stretching or changing position unnecessarily. Hotel staff must also be able to clean the wall surface, inspect the telephone line, and replace the unit without damaging surrounding finishes.
Mounting height also influences how the telephone appears within the room. A unit placed too close to a headboard may look crowded. A telephone installed above a desk may interfere with artwork, lighting controls, or television panels. In bathrooms, a poorly located telephone may be difficult to reach from the toilet or may be installed too close to a wet zone.
The planning process should therefore combine four considerations:
Guest reach and accessibility
Room furniture and wall layout
Telephone dimensions and control positions
Cabling, junction boxes, and maintenance access
Treating the telephone as part of the complete room elevation helps prevent installation conflicts during construction.
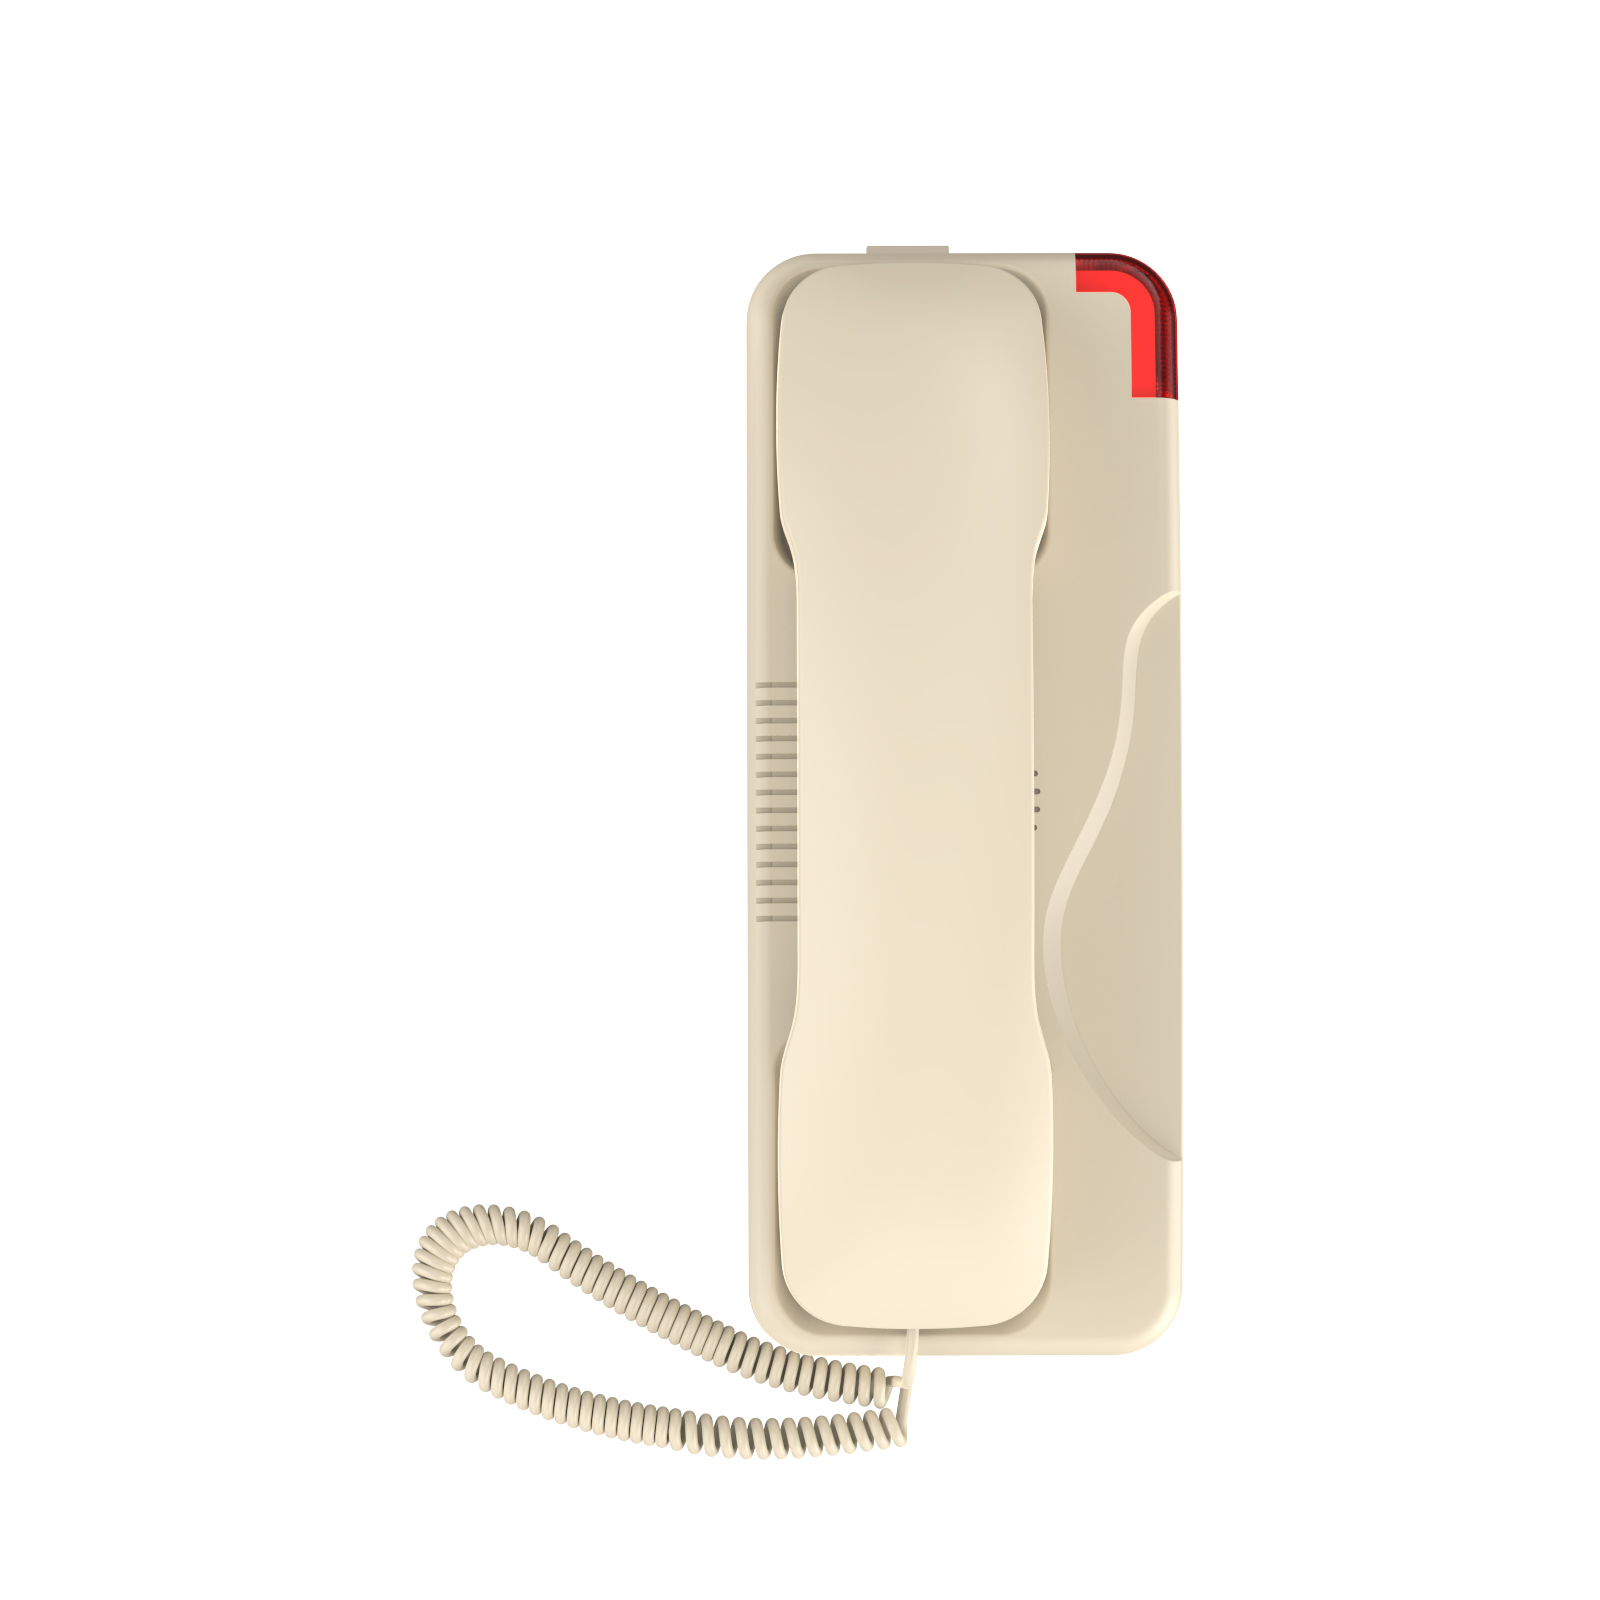
One of the most common installation errors is measuring to the top of the telephone housing. That measurement does not indicate whether the guest can reach the keypad or service buttons.
The more useful reference is the height from the finished floor to the telephone’s primary operable area.
Depending on the model, this may be:
The centerline of the numeric keypad
The highest programmable service button
The hands-free call button
The emergency or SOS button
The handset cradle release point
For a telephone with multiple rows of programmable keys, the highest frequently used control should remain within the intended reach range. This is particularly important when direct-dial buttons for reception, housekeeping, room service, or emergencies are positioned above the numeric keypad.
The wall plate and junction box may be installed at a different height from the keypad. Therefore, the installer should use the product drawing rather than assuming that the electrical box centerline and the control centerline are identical.
There is no single mounting height that fits every hotel room. The following ranges can be used during preliminary planning, but final dimensions should be confirmed against the product drawing, room elevation, accessibility requirements, and local regulations.
| Installation Location | Suggested Control Height Above Finished Floor | Main Planning Consideration |
|---|---|---|
| Standard guest room wall | 42–48 in. / 1065–1220 mm | Comfortable standing and seated operation |
| Accessible guest room | Usually 42–44 in. / 1065–1120 mm design target | Keeps controls below maximum reach limits and allows construction tolerance |
| Beside the bed | 36–42 in. / 915–1065 mm | Reach from the mattress or seated position |
| Above a shallow nightstand | 38–44 in. / 965–1120 mm | Furniture depth and handset clearance |
| Guest bathroom or toilet area | 34–42 in. / 865–1065 mm | Seated reach and emergency use |
| Entry wall or corridor position | 42–48 in. / 1065–1220 mm | Standing use and unobstructed approach |
| Staff or service area | 42–48 in. / 1065–1220 mm | Frequent operation and equipment clearance |
These figures are practical design ranges rather than universal statutory dimensions. Each project should be reviewed by the responsible architect, accessibility consultant, electrical engineer, or local authority.
In the United States, accessible operable parts are generally required to remain within defined reach ranges. For an unobstructed forward or side approach, the accessible reach range normally extends from 15 inches minimum to 48 inches maximum above the finished floor.
When a telephone is installed above furniture or another obstruction, the permitted maximum height may be reduced. For example, an obstructed forward reach may be limited to 44 inches when the reach depth exceeds 20 inches. An obstructed side reach over deeper furniture may be limited to 46 inches.
This means a telephone installed 48 inches above the floor is not automatically accessible. A deep nightstand, desk, minibar cabinet, or luggage bench may prevent a wheelchair user from approaching the controls.
Accessible installation planning should verify:
The highest operable button
The clear approach to the telephone
The depth of any furniture below it
The position of the handset
The force required to press buttons
The ability to operate the device with one hand
ADA operable-part provisions also state that controls should not require tight grasping, pinching, or twisting of the wrist and should be operable with limited activation force.
In guest rooms requiring communication features, telephone planning may also need to address volume control, visible incoming-call notification, and an electrical outlet positioned close enough to support compatible communication equipment.
Furniture is one of the most important variables in telephone installation.
A wall-mounted unit may appear accessible on an empty wall, but the situation changes after a nightstand or desk is installed. The guest must reach across the furniture surface before touching the keypad.
A shallow nightstand generally creates fewer reach problems. The telephone can often be installed above or beside the furniture while remaining easy to operate.
However, the installer must still confirm that:
The handset cord does not drag across lamps or guest items.
The handset can be returned without hitting the tabletop.
The telephone does not block electrical outlets or charging panels.
Guests can see the service-button labels from the bed.
A deep desk or minibar cabinet can make a normally acceptable mounting height difficult to reach.
Moving the telephone closer to the edge of the furniture may not solve the problem if the wall position remains fixed. A better option may be to install the telephone beside the furniture rather than directly above it.
Where the unit must remain above a deep surface, the keypad height should generally be reduced and checked against the applicable obstructed-reach requirements.
Modern hotel headboards often include lighting switches, sockets, USB ports, decorative panels, and reading lamps. Adding a wall telephone to the same elevation can create visual and functional congestion.
Before finalizing the position, confirm:
Headboard thickness
Mattress height
Reading-lamp movement
Power outlet locations
Bedside table dimensions
Telephone cable route
Guest reach from the mattress
The telephone should not require the guest to lean behind a lamp or reach across an electrical outlet panel.
A bedside telephone should be reachable while the guest is seated on the mattress. In some properties, it may also need to be operated while the guest is lying down.
For this reason, bedside units are generally installed lower than telephones positioned near the room entrance.
The mattress height must be measured after the bed base, mattress, and topper have been selected. Using the unfinished bed-frame height can result in an incorrect installation position.
A practical bedside planning process includes:
Confirm the finished mattress height.
Identify the guest’s likely seated shoulder and hand position.
Position the keypad where it can be viewed without excessive bending.
Confirm that the handset can be lifted without hitting the headboard or lamp.
Test the coiled cord at the farthest intended position on the bed.
Check that housekeeping can return the handset securely after cleaning.
A control height of approximately 36 to 42 inches above the finished floor often works for bedside applications. However, the room mock-up should be tested with the actual bed and telephone model before bulk installation.
Bathroom telephones serve a different purpose from standard bedside phones. They may be used to contact reception, request assistance, or make an emergency call after a fall or medical incident.
The unit should therefore be positioned for seated use rather than only for a standing guest.
A bathroom telephone should be evaluated against:
Reach from the toilet
Reach from an accessible transfer position
Distance from the bathtub or shower
Moisture and water exposure
Local electrical and building regulations
Handset cord length
Visibility of the emergency button
Ease of cleaning and disinfection
A lower mounting range of approximately 34 to 42 inches above the finished floor may provide better seated access. This is a planning range only. Wet-area separation, ingress protection, low-voltage installation rules, and local hotel safety standards must be reviewed before installation.
A bathroom model with a clear SOS button, hands-free operation, durable housing, and simple controls is generally more suitable than a complicated multi-button desk telephone.
Two wall-mounted telephone models with the same exterior dimensions may require different installation heights because their controls are arranged differently.
Important product characteristics include:
A keypad positioned near the bottom of the housing allows the unit to be mounted slightly higher while keeping the buttons reachable. A keypad positioned near the top requires a lower mounting point.
The guest must be able to lift and replace the handset without stretching. The cradle should also hold the handset securely so that it does not fall during cleaning or vibration.
Hotel telephones may include direct-dial buttons for reception, housekeeping, room service, concierge services, or emergency assistance. These buttons should remain visible and reachable because they are often used more frequently than the numeric keypad.
Hands-free operation can improve usability when the guest cannot comfortably hold the handset. The speaker and microphone should remain unobstructed by bedding, curtains, furniture, or decorative panels.
The cord must support the intended use position. A telephone installed beside a bed may require a longer cord than a telephone installed at the room entrance.
Sachikoo’s hotel telephone range includes wall-mounted and dual-use models with options such as programmable service buttons, hands-free calling, message indicators, adjustable volume, call lights, PBX compatibility, and customized logo panels. These product differences should be reviewed before the wall box height is finalized.
The installation height cannot be planned separately from the telephone system and wall construction.
Traditional analog hotel phones may use low-voltage telephone cabling connected to a PBX system. IP telephones may require network cabling, power over Ethernet, or a nearby power supply. Cordless wall-mounted models may require an electrical outlet in addition to the communication connection.
The project team should confirm:
Telephone system type
Connector position
Power requirements
Junction box dimensions
Cable exit direction
Wall plate compatibility
Access for future replacement
Separation from power and communication cables
Compatibility with decorative wall finishes
The cable should enter behind the telephone or through a controlled opening. Exposed cables reduce the visual quality of the room and may become a maintenance problem.
Where decorative panels are used, the mounting substrate must be strong enough to support repeated handset operation. Thin wall coverings alone should not carry the telephone load.
Hotel buyers and designers can use the following process before approving the final wall elevation.
Determine whether the telephone will be installed beside the bed, near the entrance, above a desk, in a bathroom, or in a public area.
Will the guest be standing, seated on the bed, seated in a wheelchair, or using the telephone from the toilet area?
Obtain the exact housing dimensions, keypad position, handset location, wall bracket, and cable-entry drawing.
Add the final nightstand, desk, headboard, minibar, lamp, outlet panel, and decorative elements to the elevation.
Measure from the finished floor to the highest important operable control, not merely to the telephone body.
Verify the approach space, maximum reach, furniture depth, button operation, and communication features required for accessible rooms.
Install one sample telephone in a completed room. Test it from standing, seated, bedside, and wheelchair positions where applicable.
After approval, record the mounting height, horizontal location, wall-box position, cable outlet, fastener type, and model number in the room installation schedule.
A telephone beside a bed should not automatically use the same height as a telephone near the entrance.
The highest service button may remain unreachable even when the top of the telephone appears correctly positioned.
A deep desk or nightstand reduces the guest’s practical reach.
Changing the headboard or nightstand after the wall boxes are installed can make the telephone position unusable.
Carpet, tile, raised bathroom floors, and finished wall panels can change the final measurement.
The keypad may be reachable while the handset cannot comfortably reach the bed or seated user.
Accessible guest rooms require a separate review of controls, approach space, notification features, and communication equipment.
The mounting height of a Wall Mounted Hotel Telephone should be planned from the guest’s operating position, not from an arbitrary point on the wall.
For standard guest rooms, positioning the main controls approximately 42 to 48 inches above the finished floor provides a useful starting range. Bedside and bathroom installations often require lower positions. Accessible rooms must account for the highest operable button, clear floor space, furniture depth, and applicable reach limitations.
Before placing a bulk order or beginning installation, hotel project teams should:
Obtain the exact telephone installation drawing.
Measure from the finished floor to the operable controls.
Coordinate the telephone with furniture and electrical layouts.
Review accessible rooms separately.
Install and test a full-room mock-up.
Record the approved dimensions in the construction schedule.
Sachikoo provides wall-mounted hotel telephone options with customizable service keys, logo panels, housing colors, communication functions, and OEM/ODM support. Contact Sachikoo to discuss telephone specifications and installation requirements for your hotel project.
A practical starting point is approximately 42 to 48 inches above the finished floor, measured to the main keypad or frequently used controls. The final height should be adjusted for furniture, room type, guest position, and local accessibility requirements.
No. The more useful measurement is from the finished floor to the centerline of the keypad or the highest important operable button. Telephone housing dimensions vary between models.
Bedside telephone controls are commonly planned at approximately 36 to 42 inches above the finished floor. The finished mattress height, bedside table, headboard, and handset cord should be tested in a room mock-up.
Yes, but the nightstand depth affects reach. A deep nightstand may require the telephone to be installed lower or moved to the side of the furniture.
A bathroom or emergency telephone may be planned at approximately 34 to 42 inches above the finished floor to improve seated access. The final location must also comply with local wet-area, electrical, accessibility, and building requirements.
Check the highest operable control, clear approach space, furniture obstruction, handset operation, button force, volume control, visible call notification, nearby electrical access, and compatibility with the hotel telephone system.
Not necessarily. Standard rooms, accessible rooms, suites, bedside locations, bathrooms, and public areas may require different mounting positions.
The height should be finalized after the telephone model, furniture dimensions, wall finishes, electrical layout, and accessibility requirements have been confirmed. A physical room mock-up should be approved before bulk installation.